Coding Randomized Zelda Patterns

I’ve been really enjoying the latest Zelda game, Tears of the Kingdom. One of the ways the game creates a cohesive aesthetic is by repeating patterns between the game environment and interface screens.
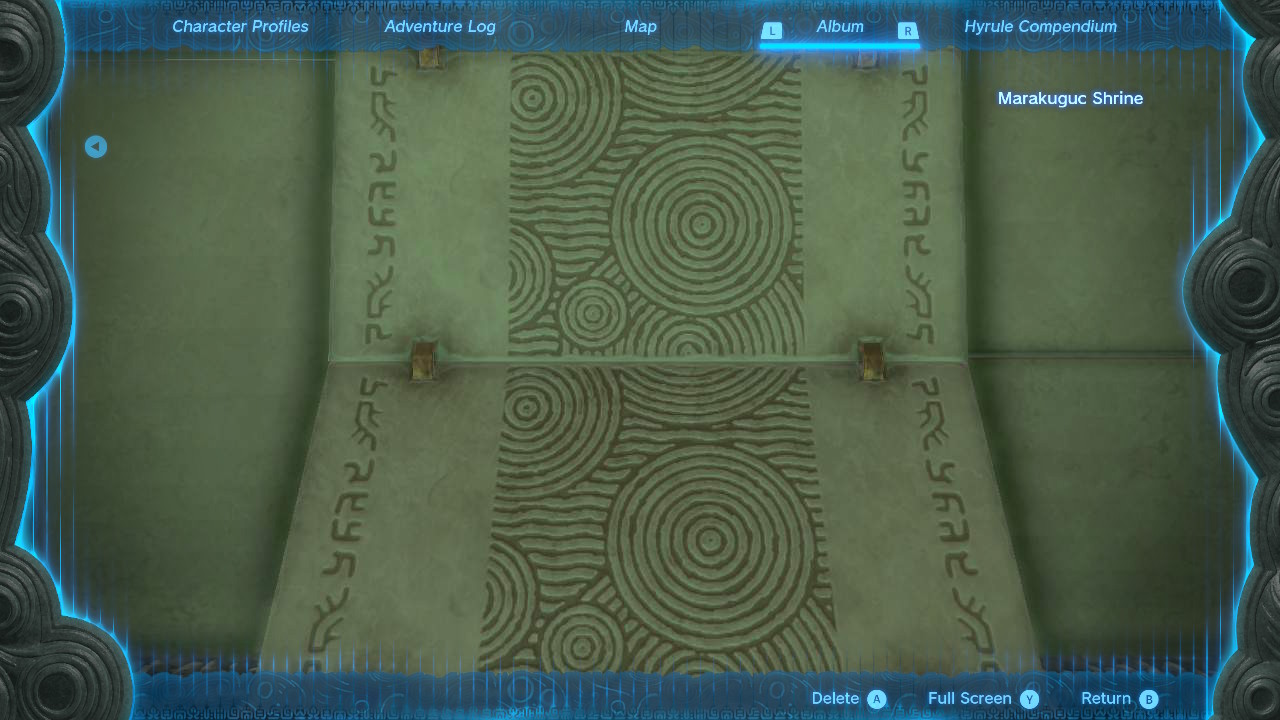
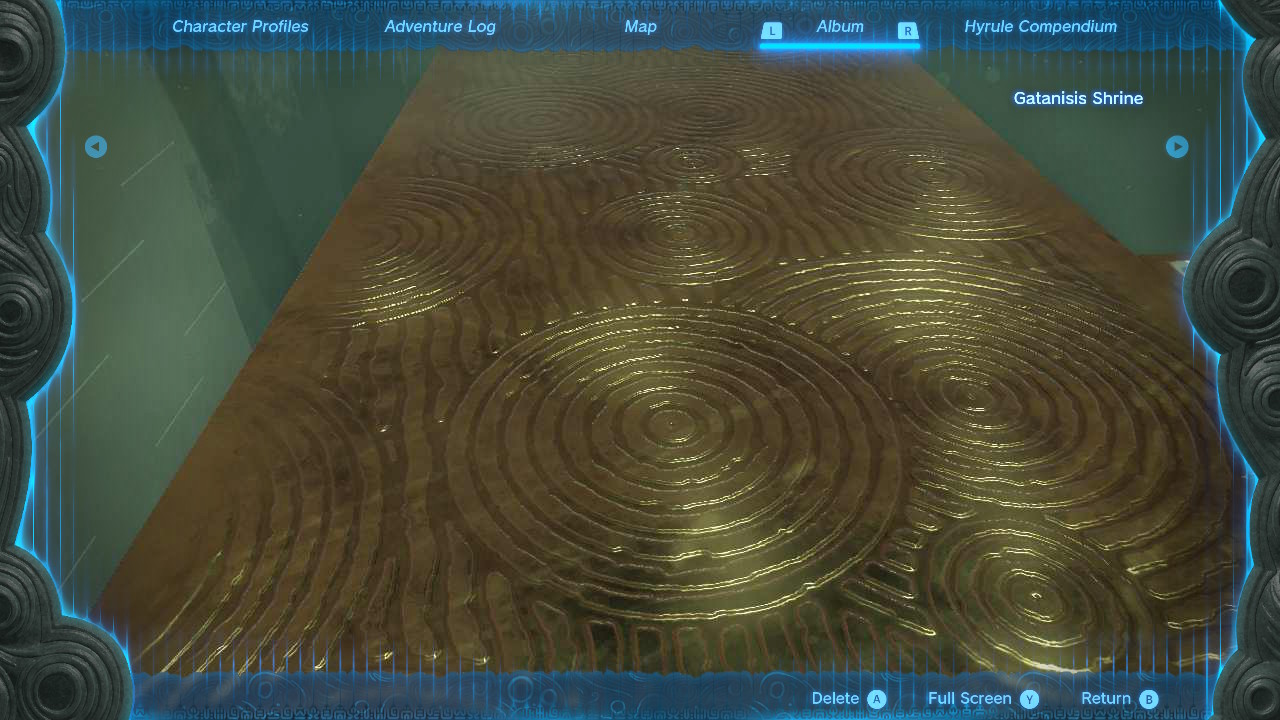
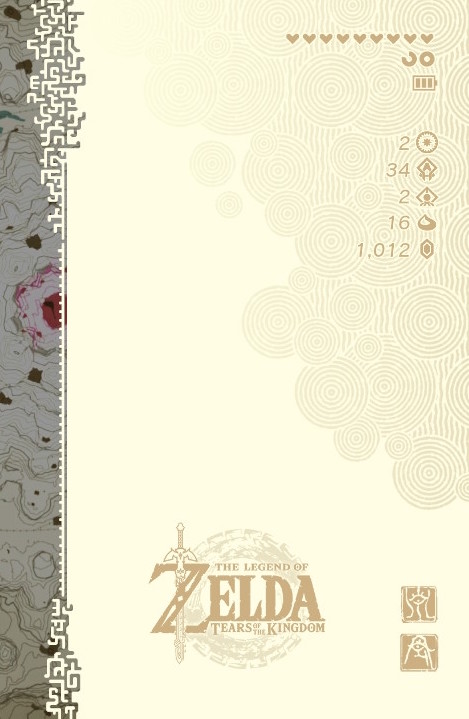
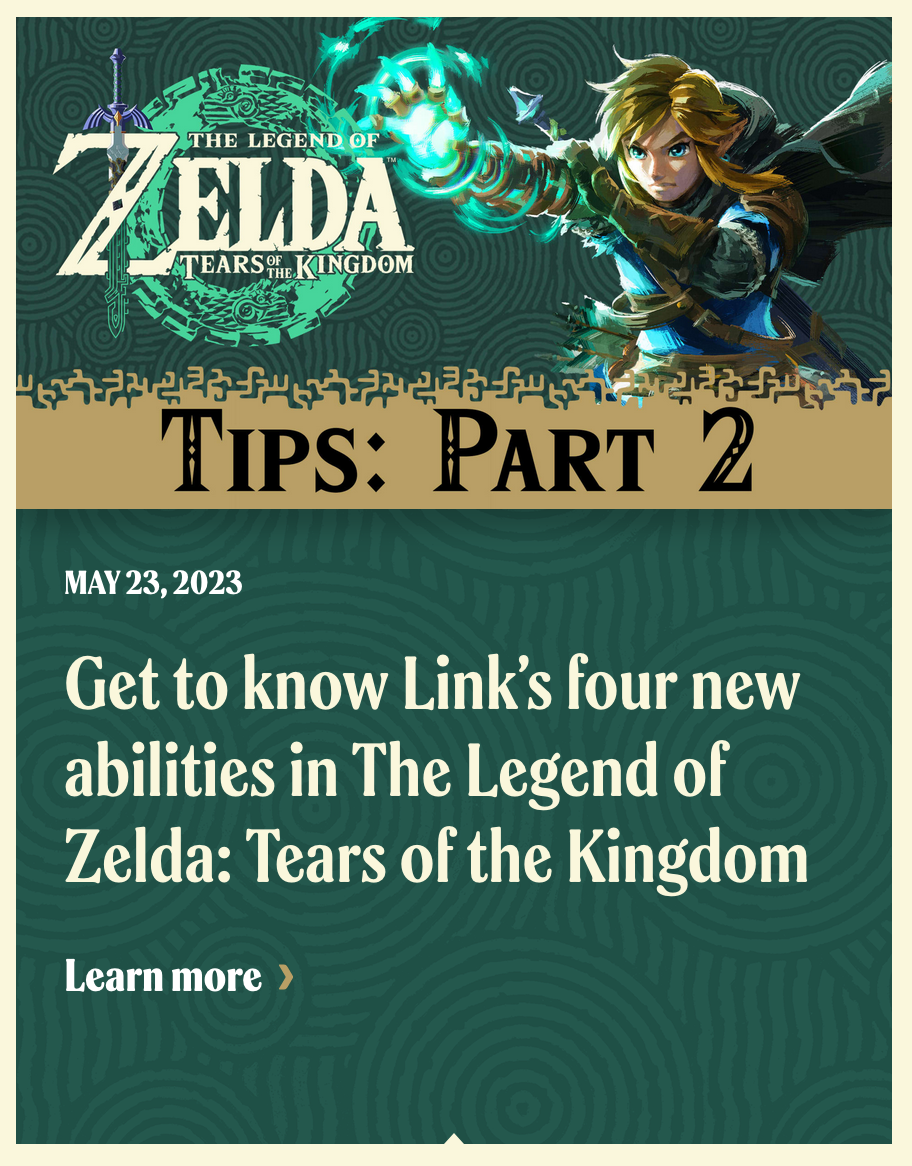
There was one pattern in particular that I was drawn to. This repeating circle motif can be found throughout the game’s many shrines and on interface screens. The pattern is even used on the official game website.
I really enjoy creating procedurally generated artwork using JavaScript and SVGs and was inspired to generate similar patterns myself. Here’s the final artwork I ended up with. Press “Randomize” to generate a new random pattern, or select a different color scheme to apply a different visual style:
Breaking Down the Pattern
Although the pattern is very striking, it’s constructed of only two shapes: nested circles and squiggly lines.


We can reproduce these shapes using the SVG “vector graphic” format. We’ll use JavaScript to reduce repetition in our code and allow us to randomize the placement of these shapes.
Building an SVG Container
First, we need to create an SVG container for our artwork:
<svg
  viewBox="0 0 1000 1000"
  width="1000"
  height="1000"
  role="img"
>
  <title>
    A geometric pattern composed of nested circles and squiggly lines.
    Inspired by Legends of Zelda: Tears of the Kingdom
  </title>

  <g class="pattern">
    <!--
      Our graphics code goes here
    -->
  </g>
</svg>
Code language: HTML, XML (xml)
This SVG will house all of our graphics. There are a few things to note:
- Our
viewBoxdescribes the coordinate grid for our graphic. Everything we draw will be drawn on a 1000-unit square grid. role="img"tells browsers to treat the entire SVG as a single image instead of exposing each inner element to assistive technologies.- The
<title>element describes the image to assistive technologies and search engines. - Our graphics will be housed in a
<g>(group) element. (This isn’t necessary, but it will make it easier to dynamically update our pattern later.)
Drawing Nested Circles
Now that we’ve got a container to work with, let’s start drawing our graphics! The circles are the most striking part of the pattern, so let’s start there. We can use the SVG circle element:
<circle cx="500" cy="500" r="250" />
Code language: HTML, XML (xml)
Let’s break down the code above:
cx: this sets the horizontal center point to 500 unitscy: this sets the vertical center point to 500 unitsr: This sets the radius to 250 units
By default, SVG circles (and most other SVG elements) have a black background and no border. We can customize this with a few more attributes:
fill: This is similar to the CSSbackground-colorproperty. You can set it tononeto have a transparent background.stroke: This is similar to the CSSborder-colorproperty.stroke-width: This is similar to the CSSborder-widthproperty. It defaults to 1.
<circle fill="none" stroke="#000" stroke-width="10" />
Code language: HTML, XML (xml)
These can also be applied via CSS, which makes it easier to style all of our circles at once:
.fill {
  fill: #fff;
}
.stroke {
  fill: none;
  stroke: #999;
  stroke-width: 10;
}
Code language: CSS (css)
We’re going to be drawing a lot of circles, so let’s create a JavaScript helper function:
function circle({ x, y, r, className }) {
  return `
    <circle
      cx="${x}"
      cy="${y}"
      r="${r}"
      class="${className}"
    />
  `;
}
Code language: JavaScript (javascript)
We can write another helper function to draw a group of nested circles:
function circleGroup({x, y, r }) {
  // We'll store all our circles in an array.
  const circles = [];

  // First, draw a circle with a white background but no border.
  // This will hide any elements behind the circle.
  circles.push(circle({ x, y, r, class: 'fill' }));

  // Decide how much space to put between our circles.
  const gap = 20;

  // Draw a number of circles, making each one smaller than the last
  // until we hit a radius of 0.
  let circleSize = r;
  while(circleSize > 0) {
    circles.push(circle({ x, y, r: circleSize, className: 'stroke' }));

    circleSize -= gap;
  }

  // Return all of our circles, joined together as a string;
  return circles.join('');
}

document.querySelector('.pattern').innerHTML = circleGroup({
  x: 500,
  y: 500,
  r: 250,
});
Code language: JavaScript (javascript)
Here’s a demo showing this in action. Click anywhere on the SVG to add a new, randomly size circle group.
Randomizing the Circle Placement
As you can see, adding a number of circle groups can create interesting patterns. Let’s automate this and add randomness to generate infinite random patterns.
We’ll use a helper function from an npm package I made to generate random values (docs coming soon!) randomInt will return an integer between a minimum and maximum value:
randomInt(0, 1000);
Code language: JavaScript (javascript)
Using this helper, we can randomize the number of circle groups, as well as their size and placement:
import { randomInt } from 'https://unpkg.com/randomness-helpers@0.0.1/dist/index.js';

const patternEl =  document.querySelector('.pattern');
const gridSize = 10000;

function draw() {
  // Store all of our circle groups
  const circleGroups = [];
  // Add a random number of groups between 10 and 30
  for (let i = 0; i < randomInt(10, 30); i++) {
    // Add a circle group with a randomized location and size
    circleGroups.push(circleGroup({
      x: randomInt(0, gridSize),
      y: randomInt(0, gridSize),
      r: randomInt(50, 300)
    }))
  }

  // Join our array and populate our SVG group element
  patternEl.innerHTML = circleGroups.join('');
}

draw();
Code language: JavaScript (javascript)
View the pattern below and click the “Randomize” button to generate new patterns.
Filling in the Background
We’re getting closer to reproducing the patterns from Zelda! But something’s missing. The empty spaces behind the circles feel kind of awkward. The patterns in Zelda often fill in these gaps with a background of squiggly lines.
Let’s define a helper function to draw a single squiggly line. We can use the SVG path element, which accepts a d attribute that describes its shape. We’ll write some code to get points in a zig-zagging pattern and then use a helper called spline to draw a smooth line through them.
function squigglyLine(x, squiggleWidth, squiggleHeight) {
  const points = [];

  // Define an offset for how far the zig-zag points should
  // be placed from the center of our line.
  let xOffset = squiggleWidth / 2;

  for(
    // Start slightly above the edge of our canvas
    let y = -1 * squiggleHeight;
    // End slightly below the bottom
    y <= gridSize + squiggleHeight;
    // Iterate down, adding new points to our array
    y += squiggleHeight
  ) {
    // Add a new point.
    // Adjust our x value by our offset;
    points.push({y, x: x + xOffset})
    // Flip our x offset so the next point is
    // placed on the other side of our center line.
    xOffset *= -1;
  }

  // Use our points to build a path
  return `<path d="${spline(points)}" class="stroke" />`;
}
Code language: JavaScript (javascript)
Now that we can draw a single squiggly line, we’ll need to work from the left edge of our canvas to the right edge, building up an array of lines:
// Generate some random values to define the shape of our squiggles
const lineGap = randomInt(15, 25);
const squiggleWidth = randomInt(10, 15);
const squiggleHeight = randomInt(60, 90);

// Build an array of lines
const lines = [];

for(
  // Start slightly to the left of our canvas
  let x = lineGap * -1;
  // End slightly to the right of our canvas
  x < gridSize + lineGap;
  // Leave a gap between our lines
  x += lineGap
) {
  lines.push(squigglyLine(x, squiggleWidth, squiggleHeight));
}
Code language: JavaScript (javascript)
Once we have an array of line elements we can insert them before/below our circles:
patternEl.innerHTML = lines.join('') + circleGroups.join('');
Code language: JavaScript (javascript)
Now we’re getting closer to the patterns from Zelda! Click “Randomize” to generate new patterns:
Applying Different Color Schemes
One of the strengths of this pattern is its flexibility. Being able to remix the pattern and apply different color schemes allowed Zelda’s designers to use the pattern in multiple places.
Let’s update our CSS to display the patterns using different color schemes. We’ll use custom properties to store colors as variables:
/* Define our base custom properties */
:root {
  --fill: hsl(30, 50%, 90%);
  --stroke: hsl(80, 80%, 28%);
}

/* Apply styles to our elements */
svg {
  background: var(--fill);
}
.fill {
  fill: var(--fill);
}
.stroke {
  fill: none;
  stroke: var(--stroke);
  stroke-width: 10;
}

/* Define new themes that can be added using a class */
.theme-faded {
  --fill: hsl(56, 100%, 95%);
  --stroke: hsl(51, 45%, 55%);
}
.theme-green {
  --fill: hsl(167, 42%, 24%);
  --stroke: hsl(169, 44%, 32%);
}
.theme-gold {
  /* For this theme we're referencing an SVG gradient element to apply a gradient to our strokes */
  --stroke: url(#gold-gradient);
  --fill: hsl(44, 81%, 17%);
}
Code language: CSS (css)
Use the checkboxes in the demo below to change the color scheme and see how it affects the patterns:
Printing Our Artwork With a Robot
I really enjoy generating digital art, but sometimes it’s nice to have a physical art piece you can hang on the wall or gift to a friend. And it’s always fun to play with robots.
Luckily I got an Axi-Draw pen plotter for my birthday! Pen plotters are robotically controlled pen holders that allow you to “plot” a digital drawing using a physical pen. You can select the pen and paper you’d like to use, configure the pen plotter, and then have it draw your artwork for you!
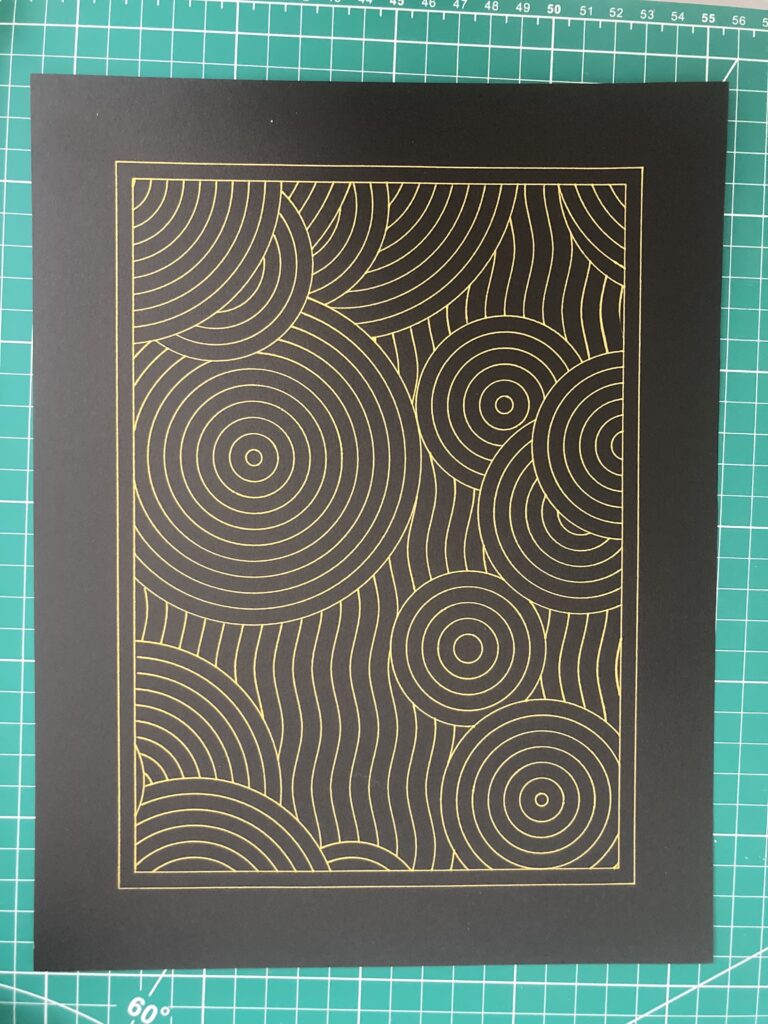
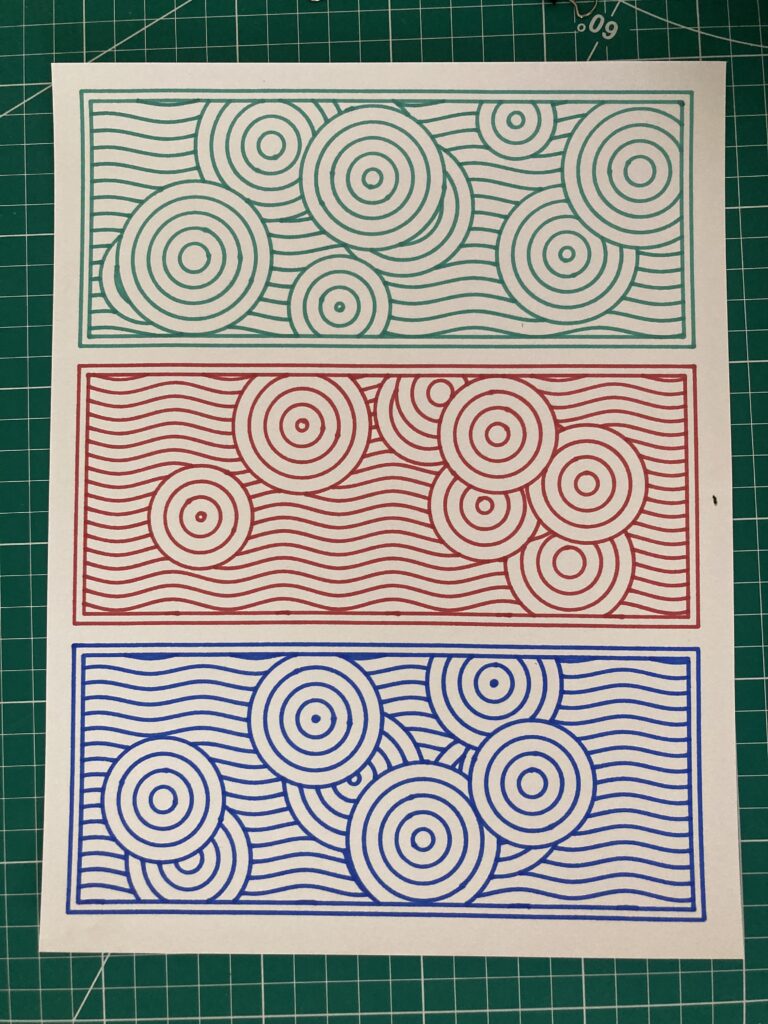
It works well with SVG graphics. I made a few tweaks to our algorithm to resize the pattern and add a border, and then had my plotter go to work!
Here are a couple of finished art pieces. You can easily use different colors of pens and paper to produce different styles of artwork.
And here’s the pen plotter at work:
Other Opportunities
I had a lot of fun generating, theming, and printing these patterns. Hopefully this taught you a little bit about JavaScript, SVGs or generative art. If you’re up for a challenge, try tweaking the CodePen or making an art piece of your own! Are there other patterns in Zelda or in the world that could be generated? Have fun!
Paul Hebert is a hybrid designer and developer at Cloud Four. When he's not designing and developing websites he enjoys bouldering, drawing, cooking, gardening, and eating too much cheese.


