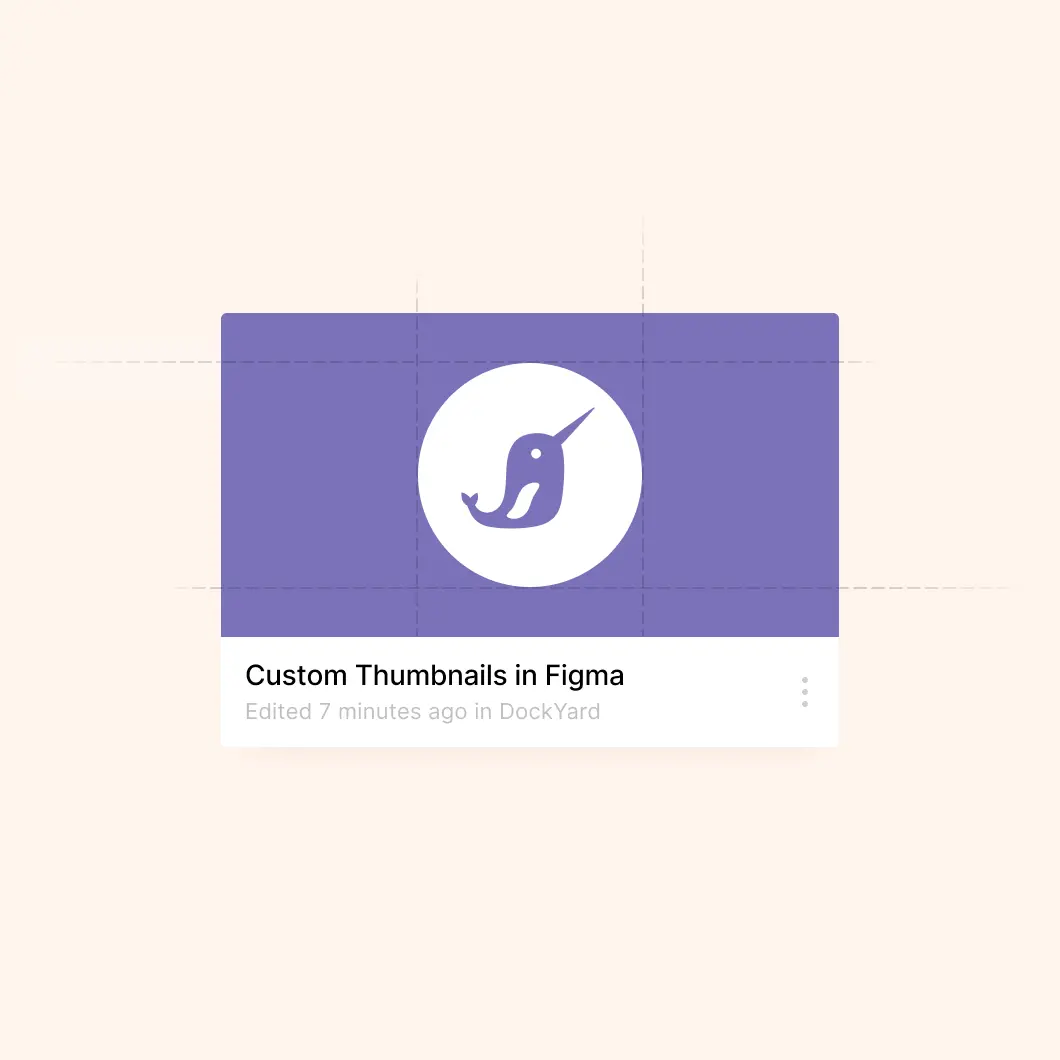

Figma is a great tool for collaborative design and handoff, but at the time of publishing this post, Figma automatically selects the cover or project thumbnail for each project.
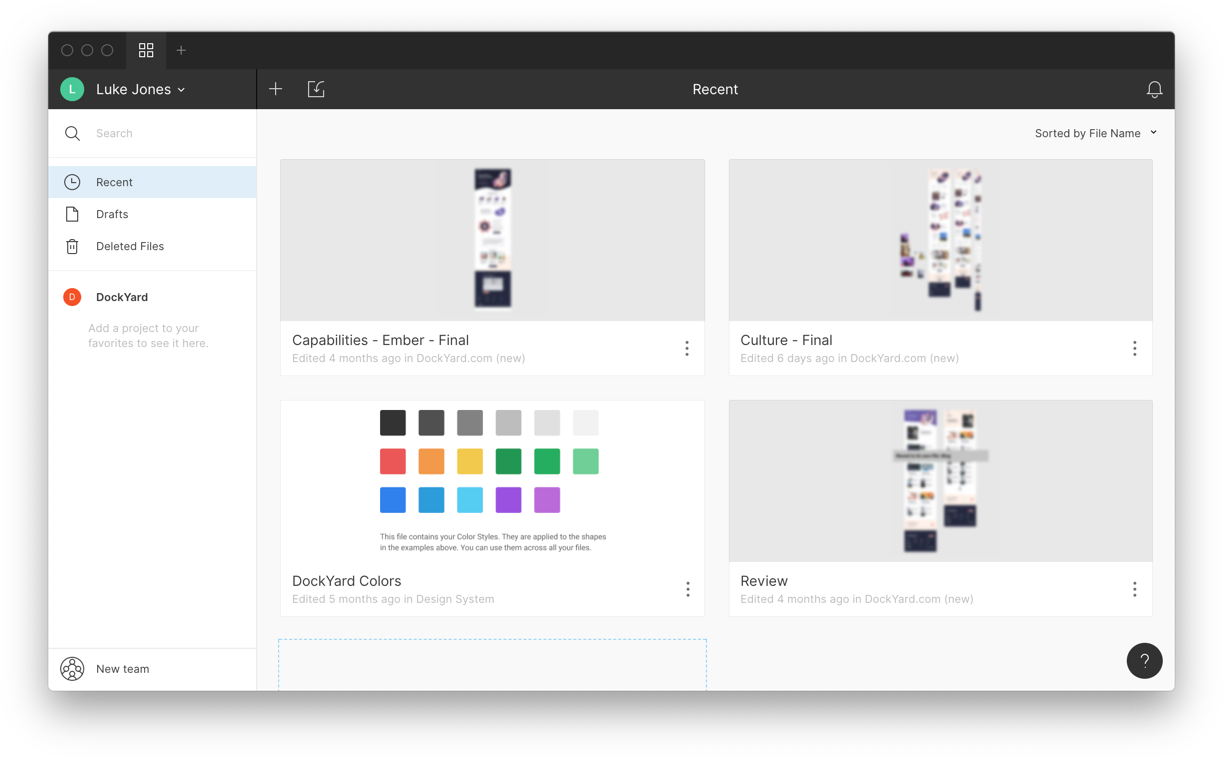
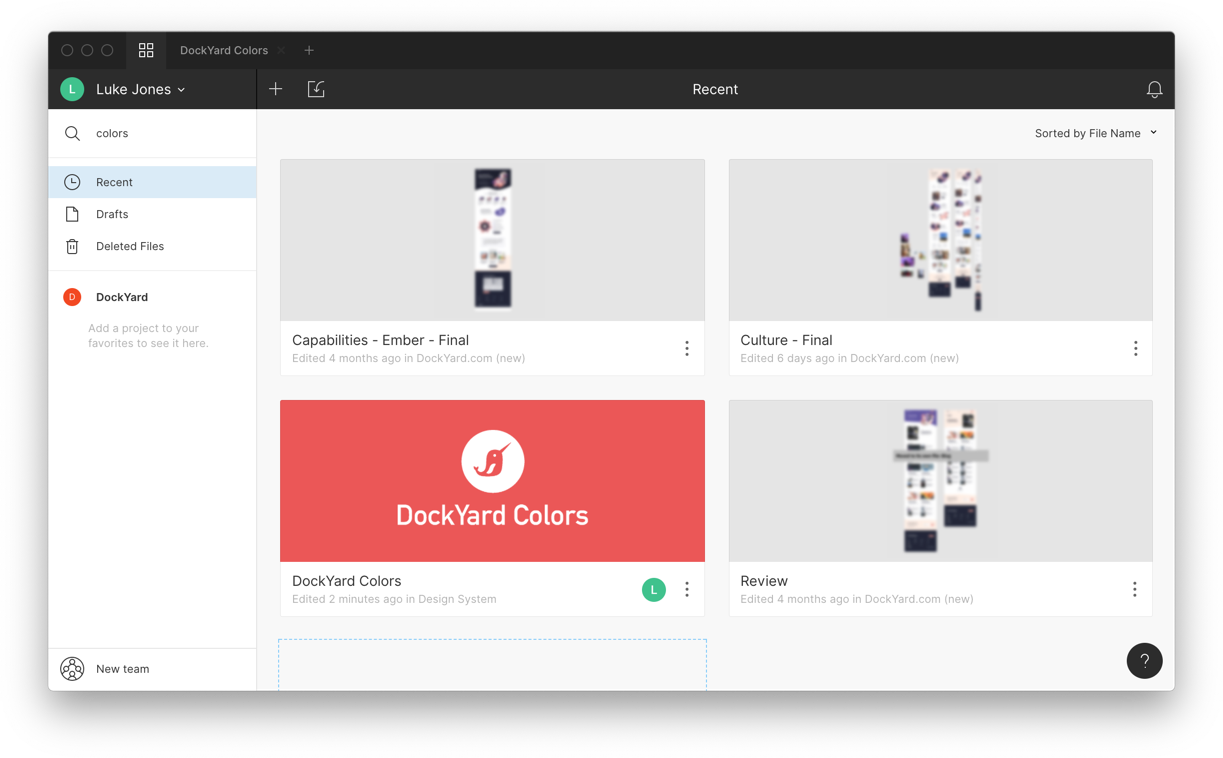
As the number of projects in your team increases, the more difficult it is to differentiate between the things you are trying to find. The solution? Create custom thumbnails for your Figma projects.
How to customize Figma thumbnails
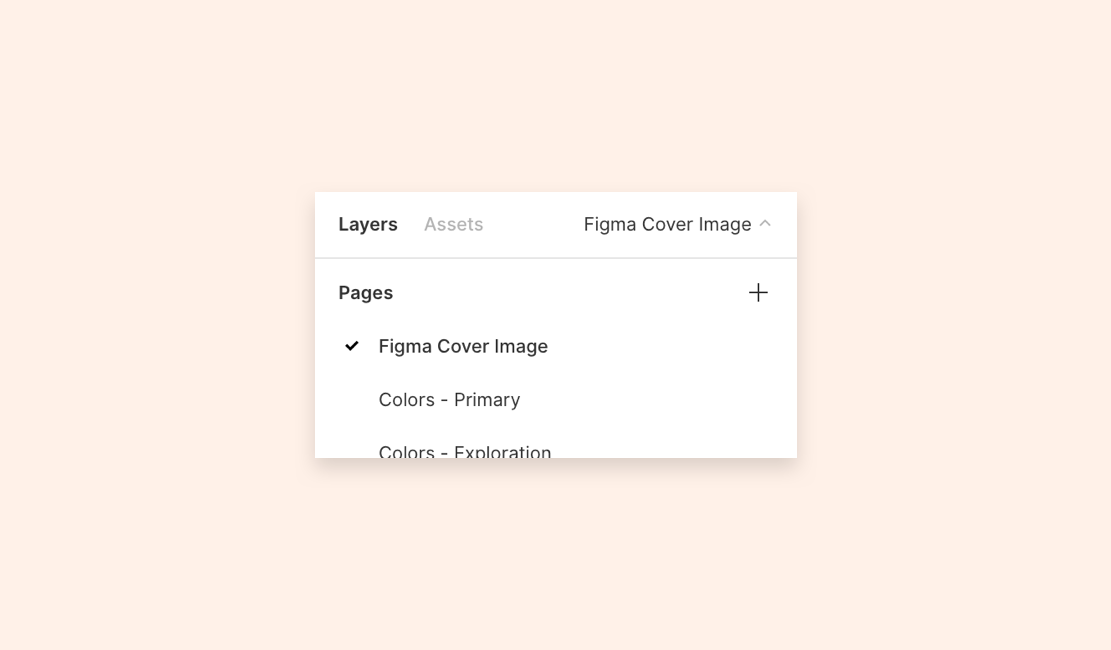
Create a new Page in your project and name it ‘Figma Cover Image.’ If you have multiple pages, make sure you change the order so it is the first page in the list:
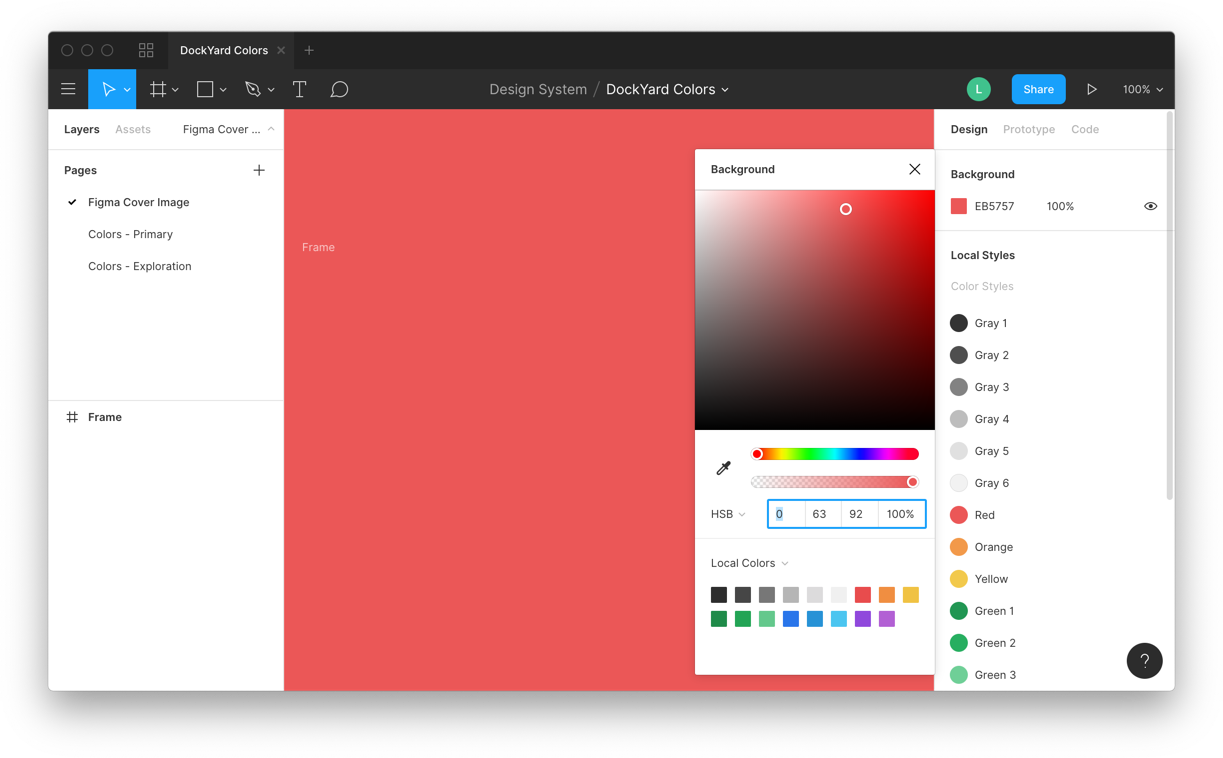
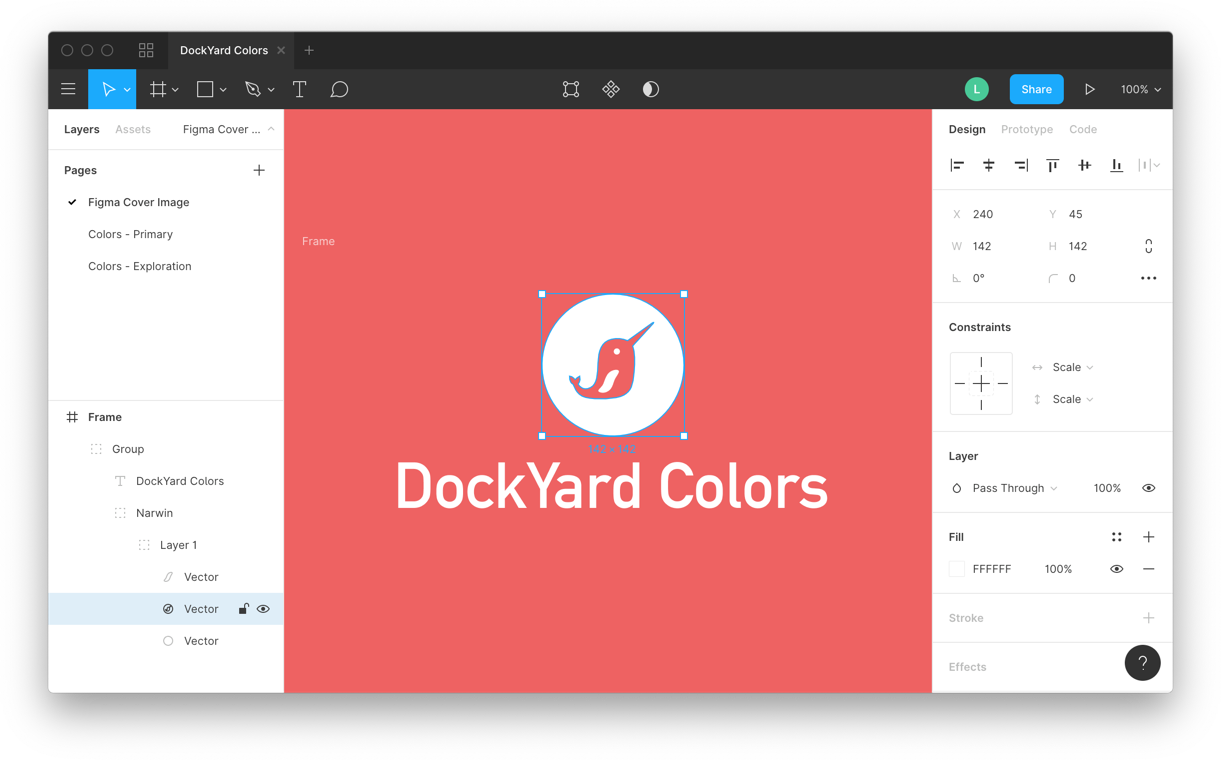
Figma project thumbnails change width depending on the size of your Figma window. To get an edge-to-edge thumbnail, create a 620 by 320 pixel Frame and remove the background color (hit the ‘—’ in the Background attribute in the right sidebar). This makes the Frame transparent, so you will need to set the background color of the entire canvas by selecting the Frame and using the Background setting at the top of the Design panel on the right.
Now that we have the background defined, we can start adding artwork to the Frame. Work as you would with any other Figma project. Just make sure any text or images are large enough to be legible in the project view, and you are good to go.
Depending on the size of the Figma project, it may take a few minutes for your thumbnail in the project to refresh and display in the Projects screen. Once it has propagated, you should have an edge-to-edge thumbnail that makes your project stand out and, as a bonus, even easier to find.
TL;DR
If you’re looking for a quick primer on customizing your project thumbnail, look no further than this handy step-by-step list:
- Create a Page and make sure it is at the top of the pages list.
- Draw a 620 by 320 pixel Frame and remove the background of the frame.
- Deselect the frame and change the background color of the canvas to get an edge-to-edge thumbnail.
- Add the artwork to the Frame.
- Wait for the updates to propagate to the Projects screen.
Have fun wowing your collaborators by customizing your project thumbnails in Figma, and please share your creative thumbnails with me on Twitter.
DockYard is a digital product agency offering custom software, mobile, and web application development consulting. We provide exceptional professional services in strategy, user experience, design, and full stack engineering using Ember.js and Elixir. With a nationwide staff, we’ve got consultants in key markets across the United States, including Seattle, Los Angeles, Denver, Chicago, Austin, New York, and Boston.
