Prefabricated components
The case for building UI components in isolation

One of my favourite TV shows is “Grand Designs”. It’s a British homebuilding show where host Kevin McCloud observes people building a wide variety of homes. If you’ve been following the show, as I have, there is a trend that’s hard to ignore.
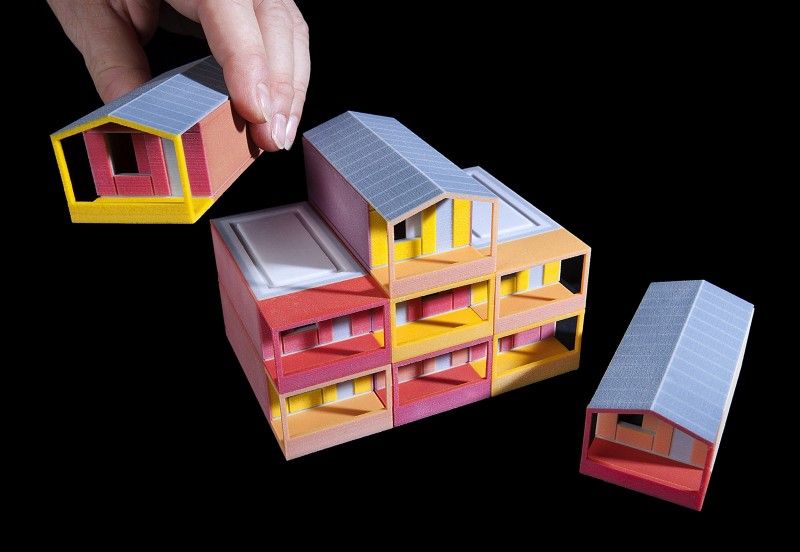
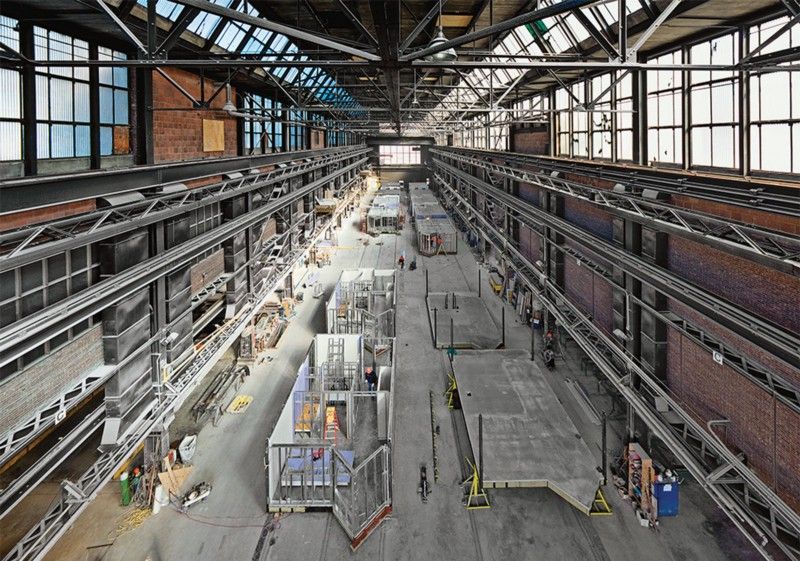
Housing projects, especially less expensive and quicker ones, are increasingly using prefabricated (“prefab”) materials. The idea of prefab is to construct components of a house in a factory before shipping them to the job site where they are joined together. It replaces the traditional method of constructing a home from raw materials on the building site (hammering together wood, setting concrete, etc.).
Costs can be further cut if you use off-the-shelf prefab materials like wall panels in certain “commodity” sizes. Anyone who has built an Ikea kitchen is probably familiar with the idea.
Why is prefab such a transformative concept? It’s not hard to understand that building one piece at a time in controlled conditions like a factory, makes construction quick and easy.
What does all this have to do with building software user interfaces (UIs)? Prefab parallels the process of developing UIs from components. We just need a “factory” to construct our components “off-site”. That factory is the Component Explorer.
Component Explorers
A component explorer is a tool which allows you to work with a single component from your app in isolation. So rather than building a component “on-site” of the app screen where it is first used, you use a tool that isolates the one component.
In order to do this, you must document the states of the component that you are interested in. This means rather than manipulating your development app into the right configuration to see your component, you explicitly write down the state you care about.
The component explorer is the factory for components.
Building on-site vs prefabricating: a case study
The idea of prefabrication is to frame, insulate, wire, plaster and paint a wall in a factory rather than on-site in unpredictable conditions. You don’t need a lot of construction experience to see why this approach makes sense. In fact, if you are like me (and most software engineers, I reckon) you are probably now thinking it’s crazy to do it any other way.
If you don’t have the same reaction to the idea of prefabricating a UI component, perhaps we need to look a little closer at the two methodologies.
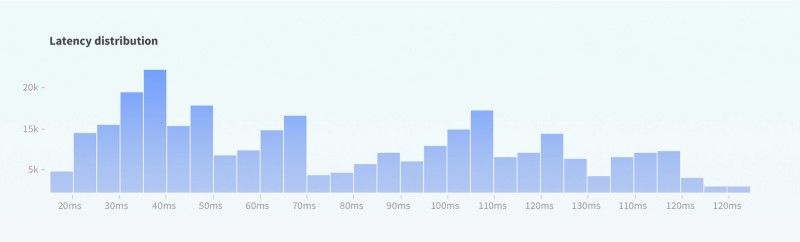
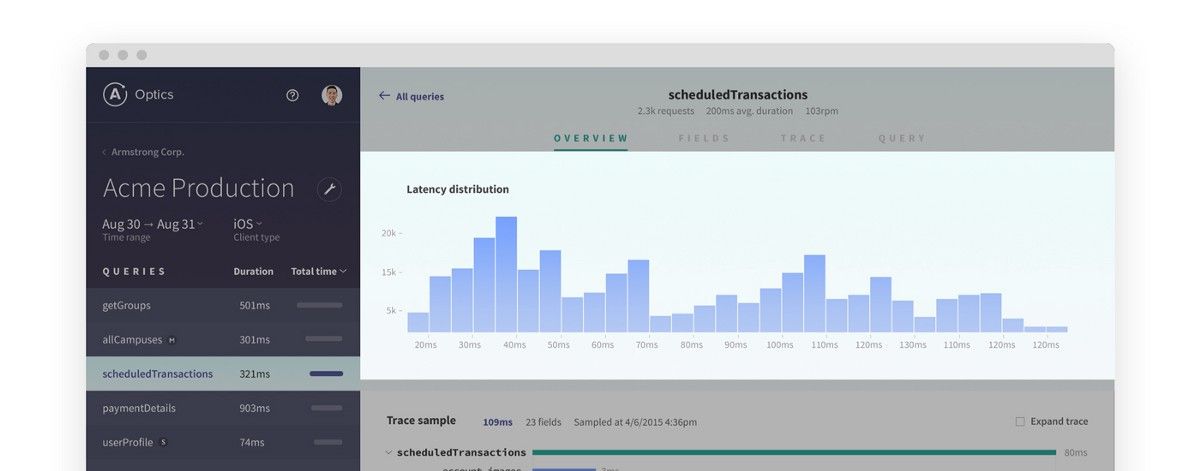
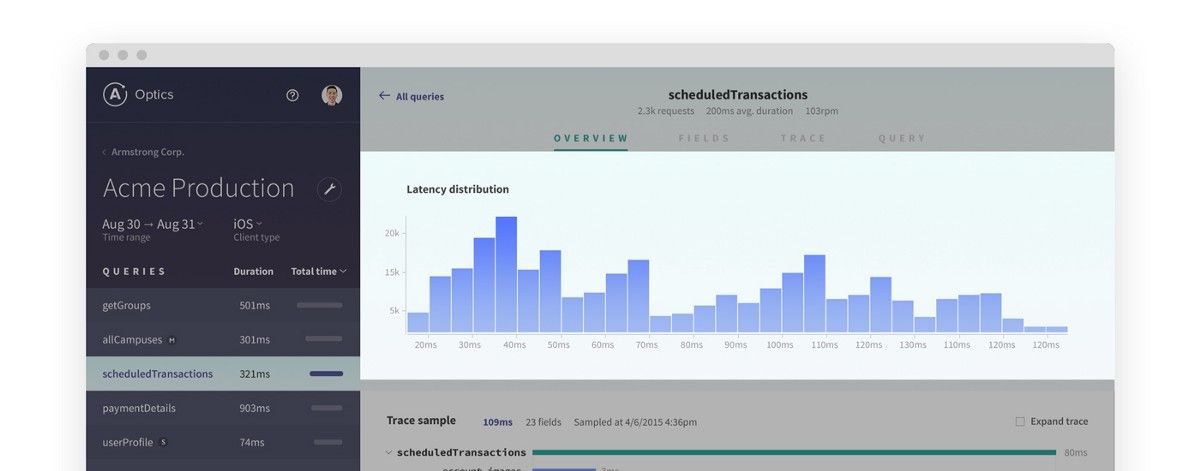
Let’s consider a case study: building a complex histogram for an analytics product, used in various contexts to display various latency distributions.
On-site
If I’m building the histogram “onsite”, then I’ll start with one of the screens where it’s used.
1. I’ll start by thinking about the most obvious use-case for the component then fill my database with some typical-looking data. I’ll build the component directly on screen where it’s supposed to live.
for (i = 20; i <= 120; i+= 10) {
  db.latencyCounts.insert({
    queryId: 'abc-123',
    latency: i,
    count: 5000 * Math.random() * 15000,
  });
}
2. Now, I might think about a different style of data, perhaps an new user with a limited set of measurements. I’ll delete some data from my database and tweak the component to make sure it still looks OK.
for (i = 20; i <= 120; i+= 10) {
  if (i !== 110) {
    db.latencyCounts.update({
      queryId: 'abc-123',
      latency: i,
    },
    {
      $set: {
        count: Math.random() * 1000,
      }
    });
  }
}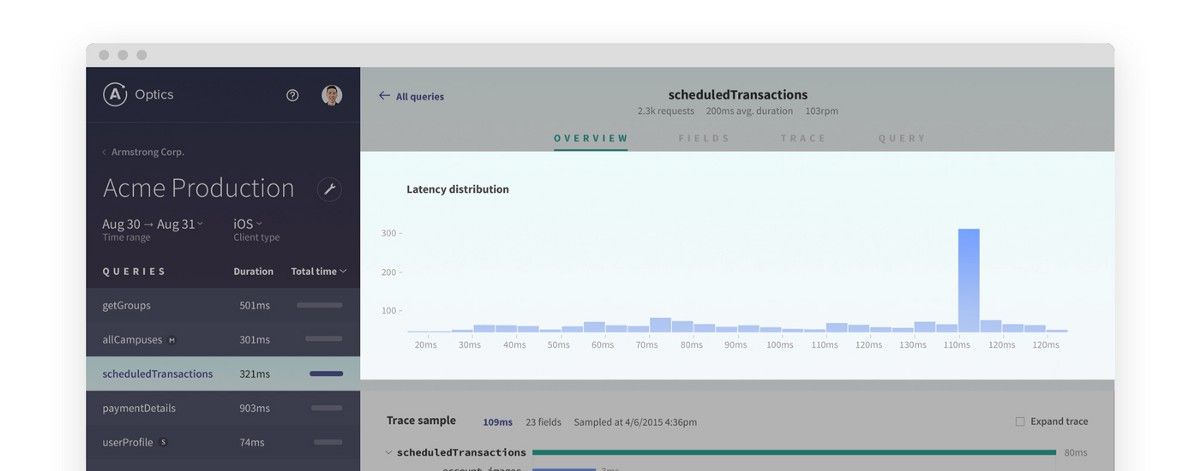
I’d better check the data I created in step 1 to ensure my changes didn’t adversely affect my original implementation, though.
3. What about when there’s no data at all? Let’s try that (making sure we check any implementation changes against steps 1 and 2’s data).
db.latencyCounts.remove({ queryId: 'abc-123' });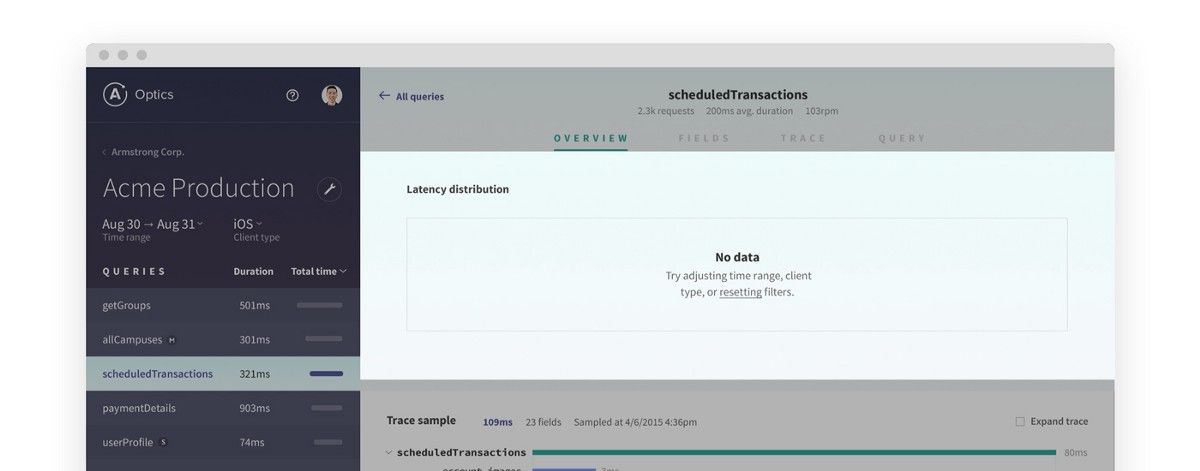
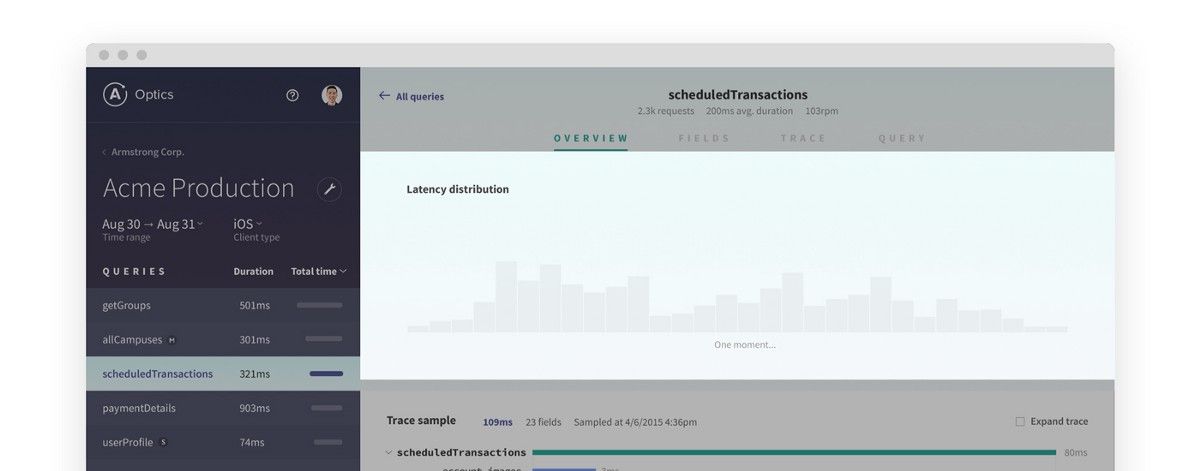
4. Let’s get this thing out to QA, we’ll deploy to a staging server. Oh! We noticed it doesn’t render well in the loading state. How can we see that locally? Maybe we need to hack our server to “hang” so we can work on the loading state. Better check our changes against steps 1–3 too.
5. Design has come back with a bunch of fiddly visual tweaks based on their testing (are we sure they tested all the states we worked on? Here’s hoping!). Let’s make those changes then ensure they don’t break the states from steps 1–4
6. After deploying to production, a user reports the graph looks bad for their unique, unusual data set! Better (anonymously) import that data into our local db and fix it. Oh, and we should run through states from steps 1–5 again.
This process happens over extended time periods so it may not be easy (or fun) to remember the commands to reproduce step 1 by the time we get to step 6. Let’s be honest, there’s probably a good chance we won’t actually check it!
We write tests to encode known use cases and avoid regressions — but writing tests for UIs is hard.
Regressions happen when use cases are forgotten or ignored.
Prefab
When prefabricating a component, instead of indirectly maneuvering our component into the state we want to work on, we carefully detail the exact states we are interested in. The component explorer is a tool that allows us to experience the component in each of these states in isolation.
Typically, this means that each step is simpler; rather than messing with the database or carefully tailoring our development account to contain the right information, we just document the state we want to experiment with.
Listing the states up front helps us to think clearly about the states that the histogram supports. Each time you work on a new state, you encode a permanent version of it. Every time we need to check back a state we previously worked on, it’s simply a matter of clicking back in the component explorer.

Like a set of tests, this is an accruing set of artifacts in our project that will enable us to maintain quality over time and avoid regressions. We can also show each state to our designer for refinement –and we get it for free! In most cases it is easier to build out a state than to maneuver the app into the right configuration.
Barriers to prefabricating
Just like folks in the construction industry who may object to prefabrication (“that’s not how we do things”), developers sometimes resist building components in isolation. There are a variety of common worries; here’s a short list (let me know if you have others!), and some reasons why they’re less problematic than you may think.
Too much work
Building states feels like writing tests. It’s something that many developers think they “should do” but when under time pressure, put off.
As I mentioned, like tests, component states are an accruing benefit. However, in our and many others’ experience, developing in isolation is usually less –often far less– work than developing in context. There’s just less fussing around.
Don’t assume the job is done after step 1 of our case study above! Although it might feel like you can build the component quickly, it’s rarely the case that you don’t have to keep revisiting it, and to do that properly, you need to check all the states that you’ve considered in the past.
Hard to isolate components
Some coding patterns, or just time constraints, lead to components that are hard to render on their own. They require some kind of application context (“environment”) which makes them difficult to separate out in a component explorer.
Developing in isolation will naturally steer you away from writing components like this. Aside from being easier to reuse, and simpler to test, such environment-independent components are generally good practice to develop.

Conclusion
I’m confident that once you start working on components in isolation, you’ll soon be prefabricating the essentials of your app — perhaps even entire screens!
If you’re just dipping your toes, the best place to experiment with isolation is on your next complicated component build. The histogram above is a good example because it has many different inputs that all need to be checked for correctness. So next time you start working on a doozie, give a component explorer a try!
There are many other benefits of isolating components using component explorers like communication within the team and visual testing. Here at Chroma we are huge proponents of developing in this fashion (we call it “Component-Driven Development”), and if you want to hear more about the benefits, signup to our mailing list.